
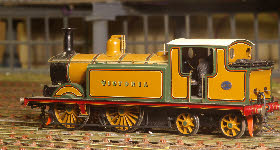

Added August 2021
THE RUNNING PLATE
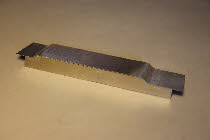 The running plate for the E2 is a rather complex shape, with a high central section and ‘roll-
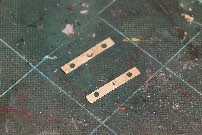 With the top fitting snugly against the running plate, I’ve marked out and then used a fret-
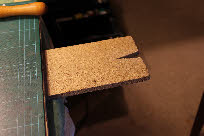 With the valence cut to shape, I’ve then cut the running plate to length, and marked the area to be cut out under the boiler and side tanks. Using a fret saw requires a little practice to cut a reasonably straight line, without breaking too many blades. It’s worth drilling holes at each change of direction to facilitate negotiating the corners. A little bit of work with a file is required to clean up the sawn edges.
To provide support while cutting, I have a piece of chipboard with a V-
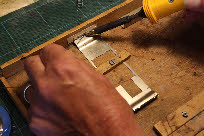
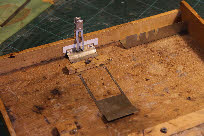 With the running plate components cut out, assembly can commence. I have a piece of plywood with square, vertical edges which I use to hold or clamp components in place whilst soldering. In the photo (left) one buffer beam is clipped against the vertical edge (with a spacer of thin card, to provide the small overhang of the running plate over the buffer beam) and spot soldered in place. In the photo right, the second buffer beam is fully soldered in place after removing the clip.
 Similarly with the valence, I have clamped the running plate down, and using spacers (1/32” balsa wood) clipped the valence in place and soldered the components together.
 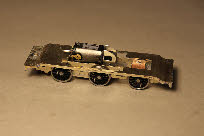 Finally, I have trial-
Next up, making and fitting the boiler.